Preview of Final Results
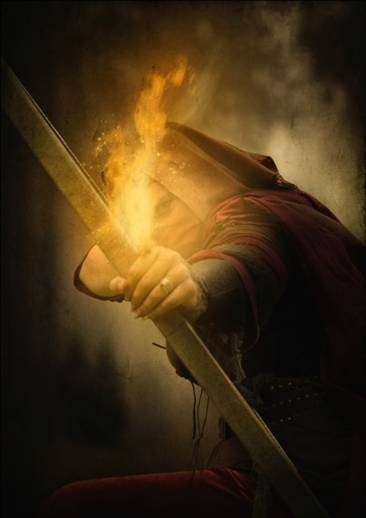
Assassin with a Flaming Arrow Photoshop Tutorial
Step 1: Create a New Image
We
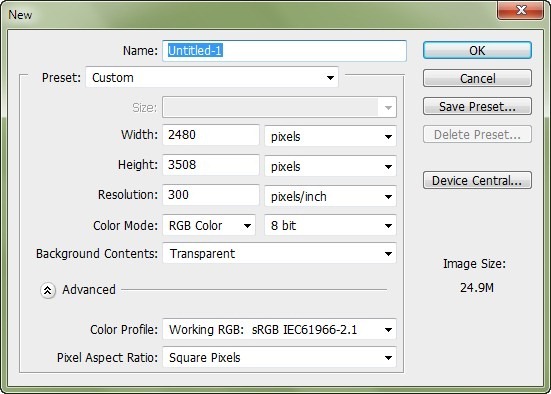
will start by creating a new image file, go to the Menu bar and click
File > New, and then input the following values on their respective
fields:
- Preset: International Paper
- Size: A4
- Width: 2480 pixels
- Height: 3508 pixels
- Resolution: 300 pixels/inch
- Color Mode: RGB Color; 8 bit
- Background Contents: Transparent
Step 2: Create the Background
In
this step, we will be creating the background of our image, which would
be a dark and mystical forest where the assassin will be attacking her
target. To start, let’s open “Fantasy Forest Stock” by Moonchilde-Stock.
Once it is open, just activate the Move tool by pressing V on your
keyboard and once this tool is active, left-click on our open stock
image and drag it to our canvas.
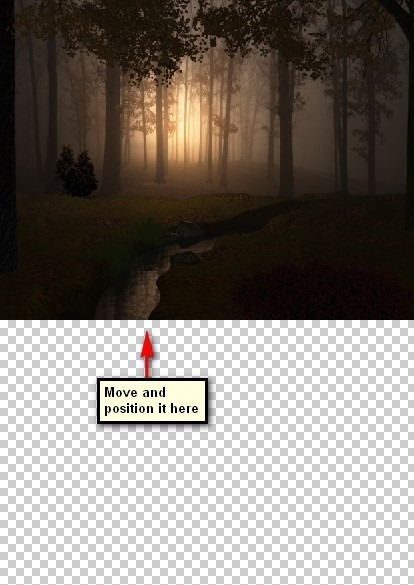
Position the “Fantasy forest stock” as shown below:
Next,
we would need to resize this image so activate the Transform tool by
pressing Ctrl/Cmd + T and resize it as shown on the images below:
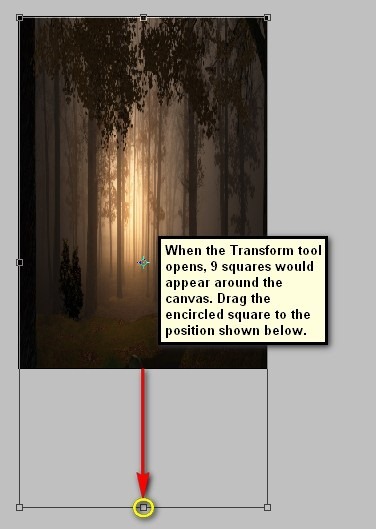
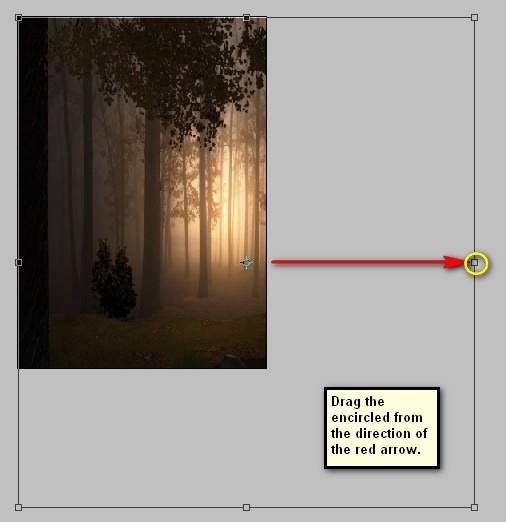
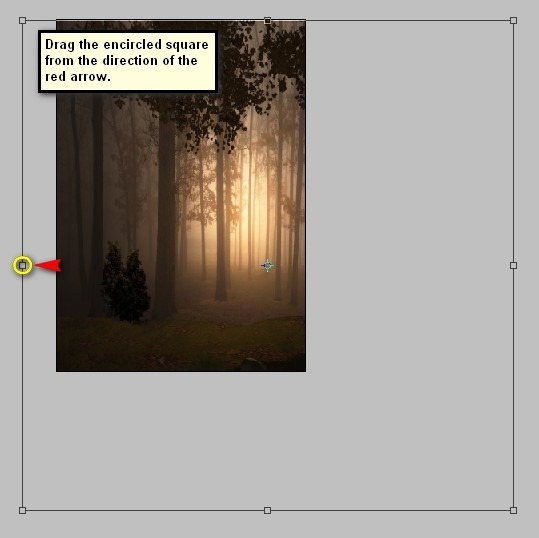
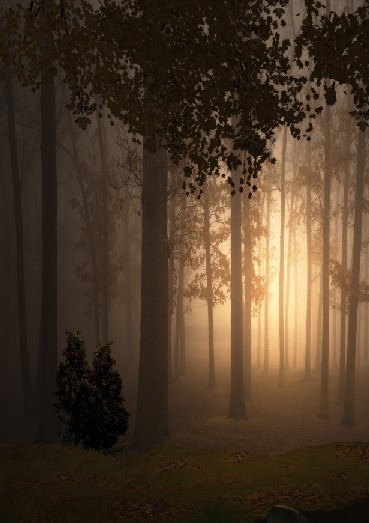
When you’re done, the image should now appear like this:
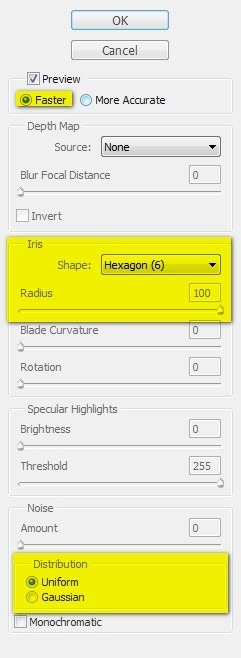
Next,
we will have to blur this image to make it look like it is far from our
subject. To start, make sure that the background image is selected and
then go to Filter > Blur > Lens Blur. Once it opens, input the
following:
After hitting OK, the result should be similar to this:
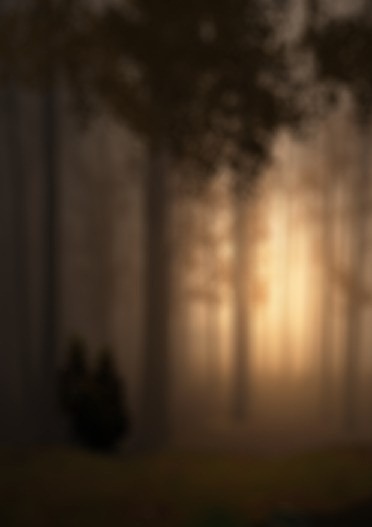
Now,
we will be enhancing the light on this forest background. To start,
click on the background layer and then create a new layer by pressing
Ctrl/Cmd + Shift + N and once the box opens, input “Light 1” on the name
box.
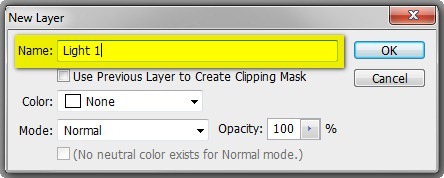
Activate
the Brush tool (B) but before we start, make sure that the active
Brushes are the default brushes. The default Photoshop brushes are shown
on the image below, if that’s not what you see, then follow the
instructions below:
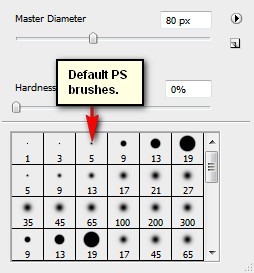
Right
click the canvas while a layer is selected and while the Brush tool (B)
is activated and then click on the button highlighted below:
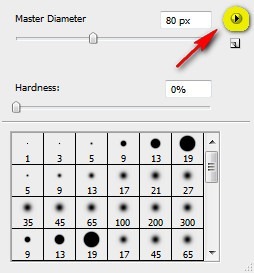
Then click on “Reset Brushes” from the contextual menu.
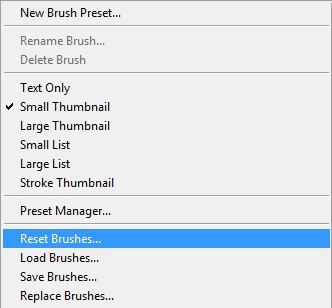
Now, that that is done input the following settings for our Brush tool (B):
- Brush size: 1600px
- Hardness: 0%
- Opacity: 15%
- Flow: 100%
- #: fffdc7
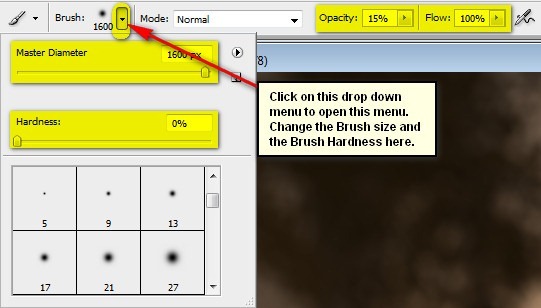
The color of the brush that we need to use is “#: fffdc7” To change the current brush color, follow the steps below:
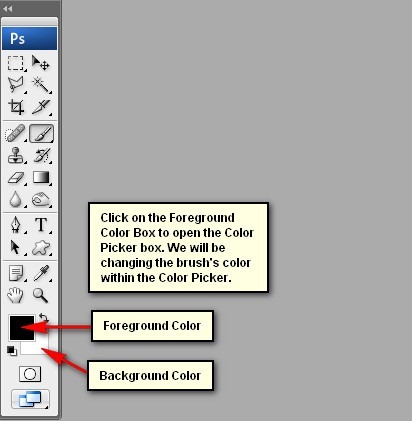
When the Color Picker box opens, input the following on the # space:
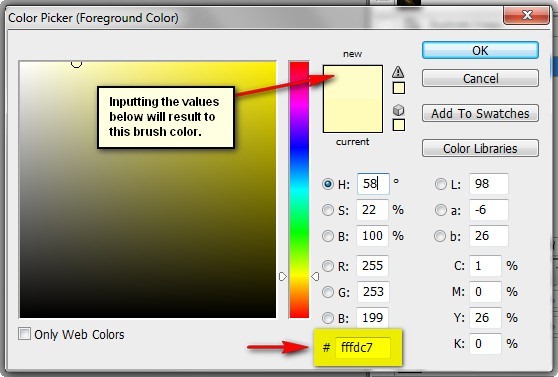
Now,
that your brush has the right color for the intended light, we can now
paint, but make sure that the “Light 1” layer is selected:
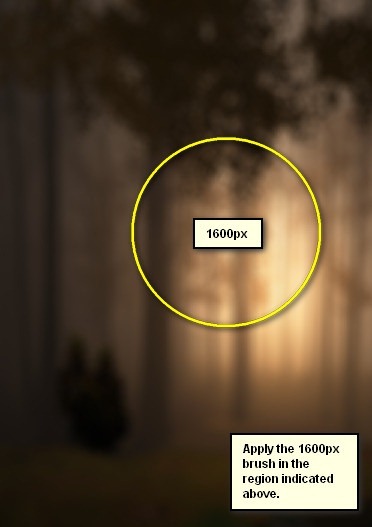
The result:
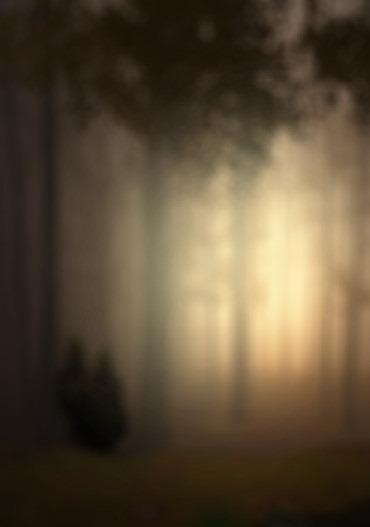
Next, create another new layer and put “Light 2” on the name box.
Once created, activate the Brush tool (B) and input the following:
- Brush size: 2500px
- Hardness: 0%
- Opacity: 15%
- Flow: 100%
- #: ceb68d
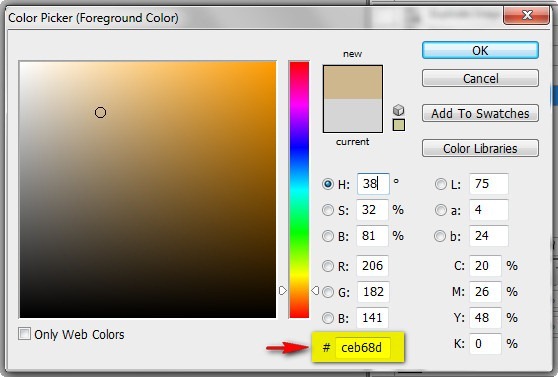
Now, let’s paint:
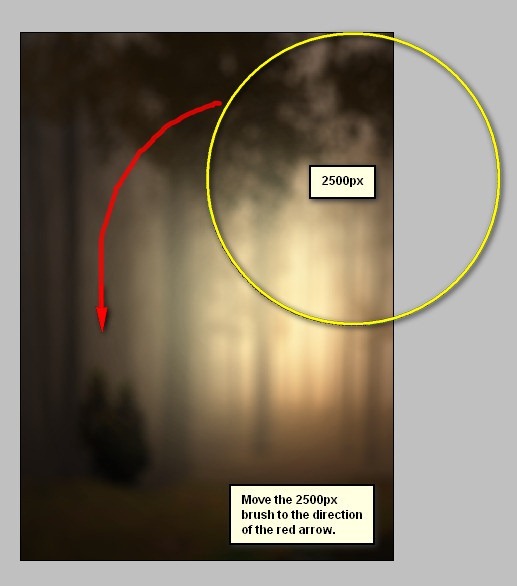
The result of that should be similar to this:
When
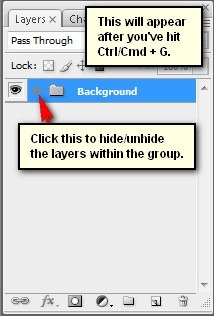
you’re done, select all the layers that you’ve created and press
Ctrl/Cmd + G to group the layers. Once grouped, rename the layer to
“Background”.
Note: To rename a group, simply double-click on the
words “Group 1” to prompt a text box to appear and then you may be able
to rename it. See image below:

ليست هناك تعليقات:
إرسال تعليق